
Product Care Information
With some simple care, your amaryllis, tulips and other bulbs will reward you with blooming joy!

Caring For Amaryllis
You don’t need a green thumb to enjoy the long-lasting beauty of Amaryllis. Just follow the tips below and you’ll be blooming in no time!
Appearance: When they arrive, your bulbs should be firm and healthy looking. You may see last season’s withered roots, plump new roots, some of each, or neither. You may or may not already see the tips of buds or new leaves emerging. All of these conditions are entirely normal.
The outside of your bulb may look fleshy and white or have papery brown layers. You’ll see a blunt cut at the neck of the bulb where last season’s leaves were cut away. Nicks, scars, splitting, and other imperfections on the outermost layers of the bulb are normal and will not affect blooming.
You may see a small amount of blue-gray mold on your bulb. This is common and naturally occurring on any moisture-containing organic material that’s been in storage. It’s harmless and will not affect the growth of your bulb.
Potting: Choose a container that’s slightly larger in diameter than the bulb. Amaryllis don’t like a lot extra space in their pot, so 1-2″ between a large bulb and the pot wall is ideal (less for smaller and miniature bulbs). Be sure the vessel has drainage holes or use an inner grow liner.
Use a well-drained potting mix, and add enough to the pot to help you position the bulb where you’d like it to sit. About ¼ of the bulb should remain above the soil line (the skinny “neck” and just a bit of the “shoulders”). Add potting mix to fill in around the bulb and compact it firmly
Watering: Water your bulb sparingly until it begins to show growth. Depending on the variety or place of origin this can be a slow process, but have patience! As long as the bulb feels firm and looks healthy, you’ll eventually start seeing signs of movement.
Once growth begins you can start watering regularly, but allow the top half of the soil to dry out in between. Amaryllis do not like sitting in soggy soil, which can contribute to bulb rot. Avoid getting water into the neck of the bulb.
Light and Temperature: Grow your amaryllis in a location that gets bright, indirect light and consistent, draft-free temperatures. Stems will grow towards a light source, so it may be necessary to rotate the pot a quarter turn every few days to keep the stem growing upright.
You can encourage your Amaryllis to come along faster by placing it in a warmer environment or giving it some gentle bottom-heat with a seed starting mat. Once it’s growing vigorously and sending up flower stalks, it’s advisable to move it to a cooler location to prolong blooming time (keep above 60F).
Growing and Pruning Tips: If you plan to keep your bulb for multiple seasons, you’ll want to begin using a dilute houseplant fertilizer every few waterings. If you plan to grow your bulb as an annual, fertilizer is not needed.
It may become necessary to provide support to flower stalks as they begin to bloom. This is especially true of large flowering and double varieties which can become top-heavy. You can use a traditional amaryllis stake for this, or get creative by using seasonal branches!
Remove individual flowers as they die back, and cut away the entire flower stalk just above the neck of the bulb once all the flowers on it have completed blooming.
Reblooming: Your amaryllis bulb may be saved for reblooming in future seasons. After flowering, continue growing the large strappy leaves, watering and fertilizing regularly with a liquid plant food. If you’re able to grow the bulb in a sheltered outdoor area during the summer months, this is ideal.
In late summer, completely withhold water and allow the leaves to die back. Store the bulb in a cool dark dry place for at least 8 weeks. The bulb may then be brought into the light and watered to begin the growing process again.

Caring For Bulb Gardens
Your bulbs will arrive to you pre-potted, pre-rooted and having undergone all the necessary temperature treatments to be ready to grow and bloom!
Appearance: The shredded wood on top of your garden is there for protection during shipping, and should be carefully removed upon arrival.
The emerging shoots of your bulbs may look pale and bent over, but this is normal. After a few days of water and light, they’ll begin to straighten out and turn green.
If your garden arrives frozen (which will not affect the quality of these cold-weather bulbs), allow it to thaw overnight before watering.
Light and Temperature: Grow your amaryllis in a location that gets bright, indirect light and consistent, draft-free temperatures. Stems will grow towards a light source, so it may be necessary to rotate the pot a quarter turn every few days to keep the stem growing upright.
You can encourage your Amaryllis to come along faster by placing it in a warmer environment or giving it some gentle bottom-heat with a seed starting mat. Once it’s growing vigorously and sending up flower stalks, it’s advisable to move it to a cooler location to prolong blooming time (keep above 60F).
Growing and Pruning Tips: Long and leggy stems can be a result of high temps and/or low light – if this happens, you can stake the blooms, cut the stems and enjoy them in a vase, or embrace and enjoy the wild look!
Pinch off flower heads as they die back to keep the garden looking neat.
Reblooming: Many bulbs may be planted outdoors in a sunny location once all danger of frost has passed (zones 3-8 only). The garden can be removed from the liner and potted into the ground any time that the soil can be worked.
Forcing bulbs indoors uses up a great deal of their energy, and it may take a few years for the bulbs to rejuvenate and bloom again.
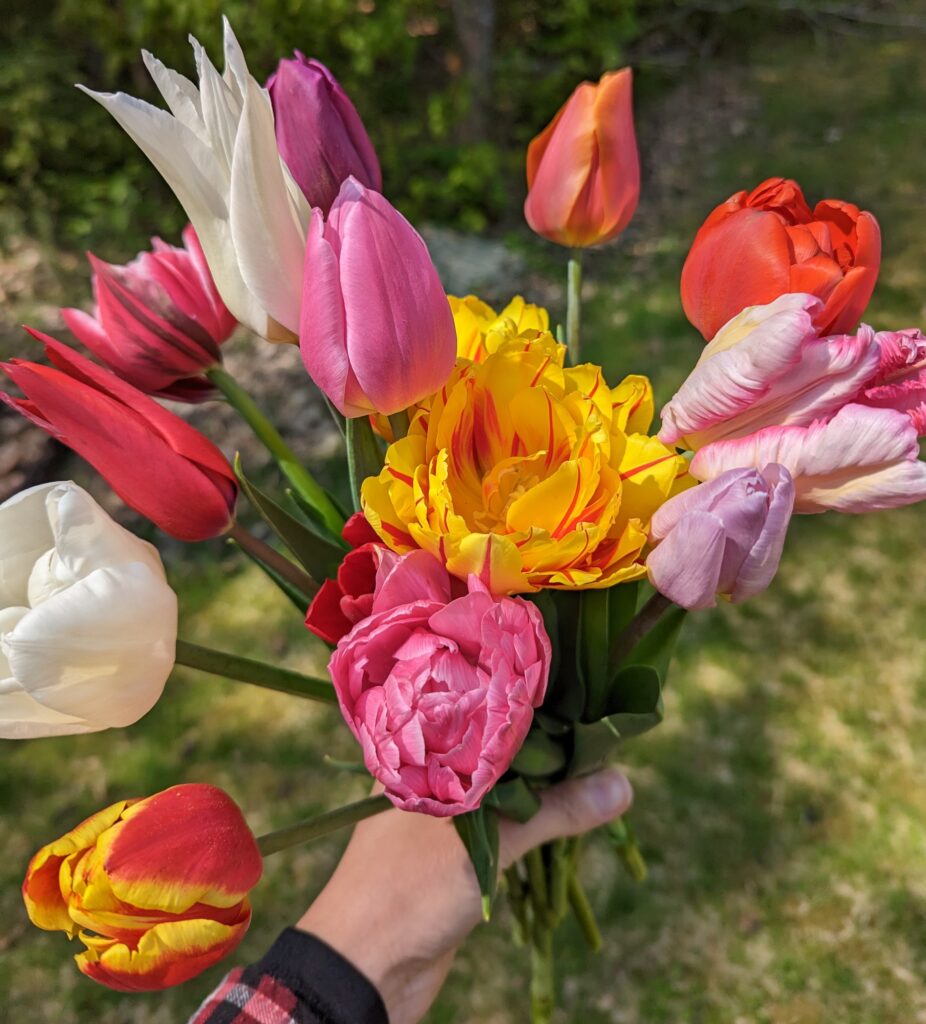
A Note About Potted Tulip Bulbs: while tulips are technically considered perennials, most varieties unfortunately will not behave like it in most parts of the world.
Some types are more likely to perennialize in a North American climate, such as species/botanical, Darwin hybrids, and Fosteriana tulips. Highly hybridized and double-flowering varieties (like many of the ones in our potted collections) are unlikely to come back, especially after the stress of being forced.
Our best advice is to treat our potted tulips as annuals to be composted once they’ve bloomed, and if you wish to enjoy tulips in the garden you should directly plant new bulbs in the fall.
Have a question that we didn’t answer about caring for your bulbs?